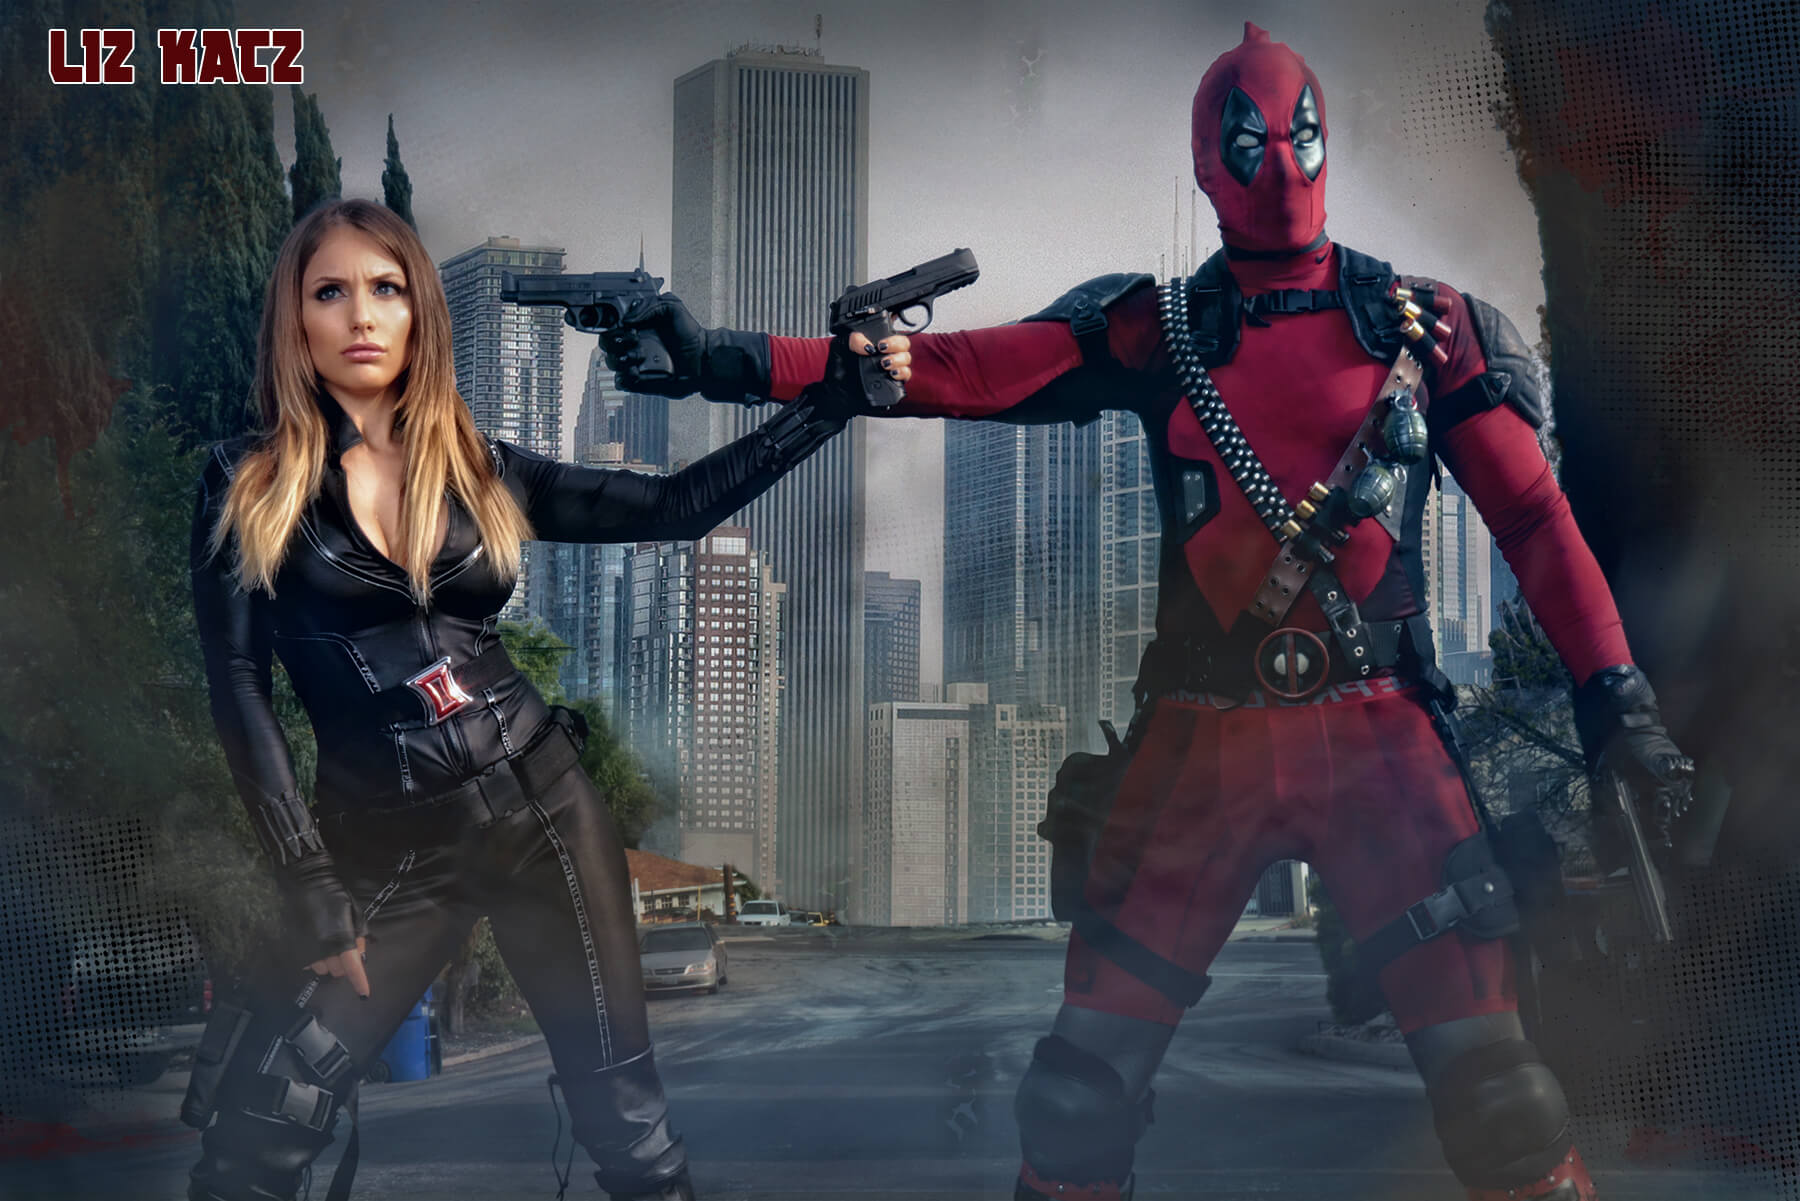
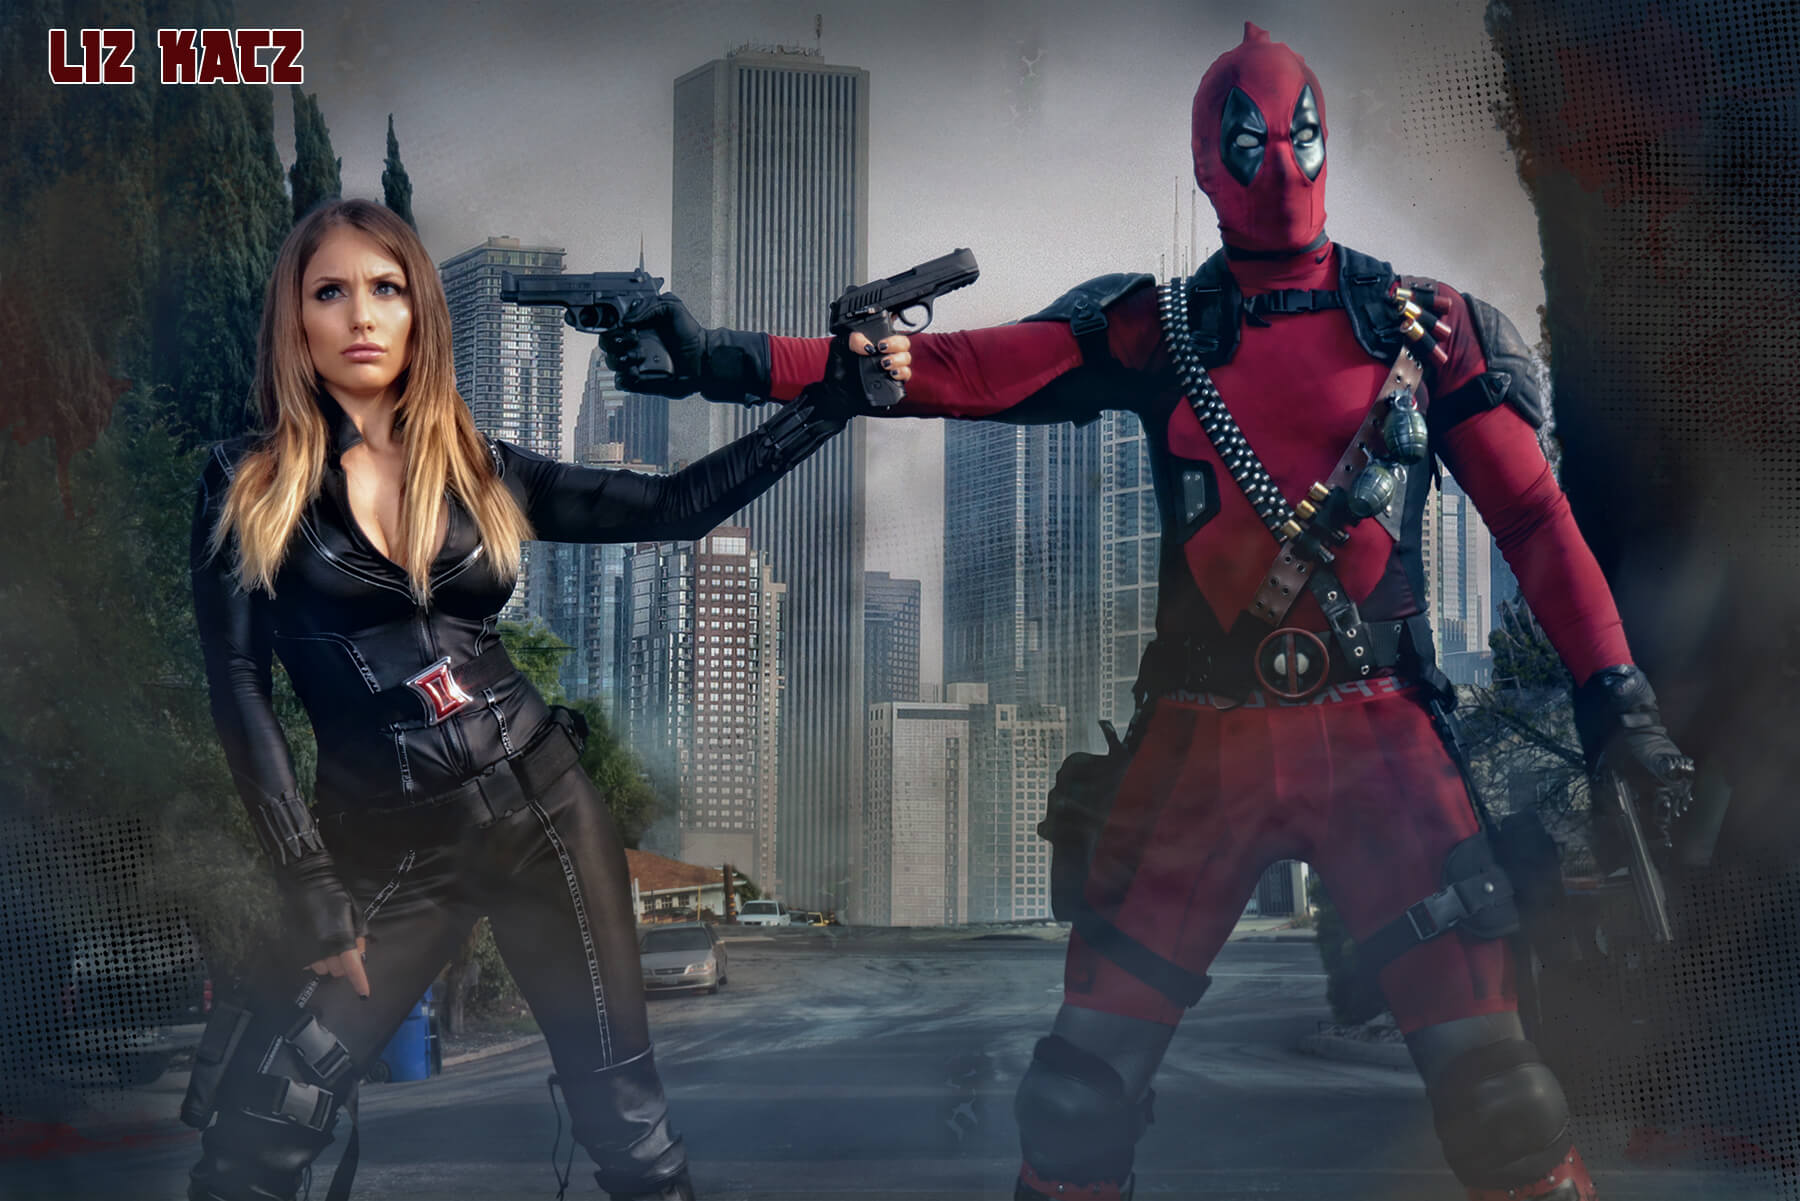
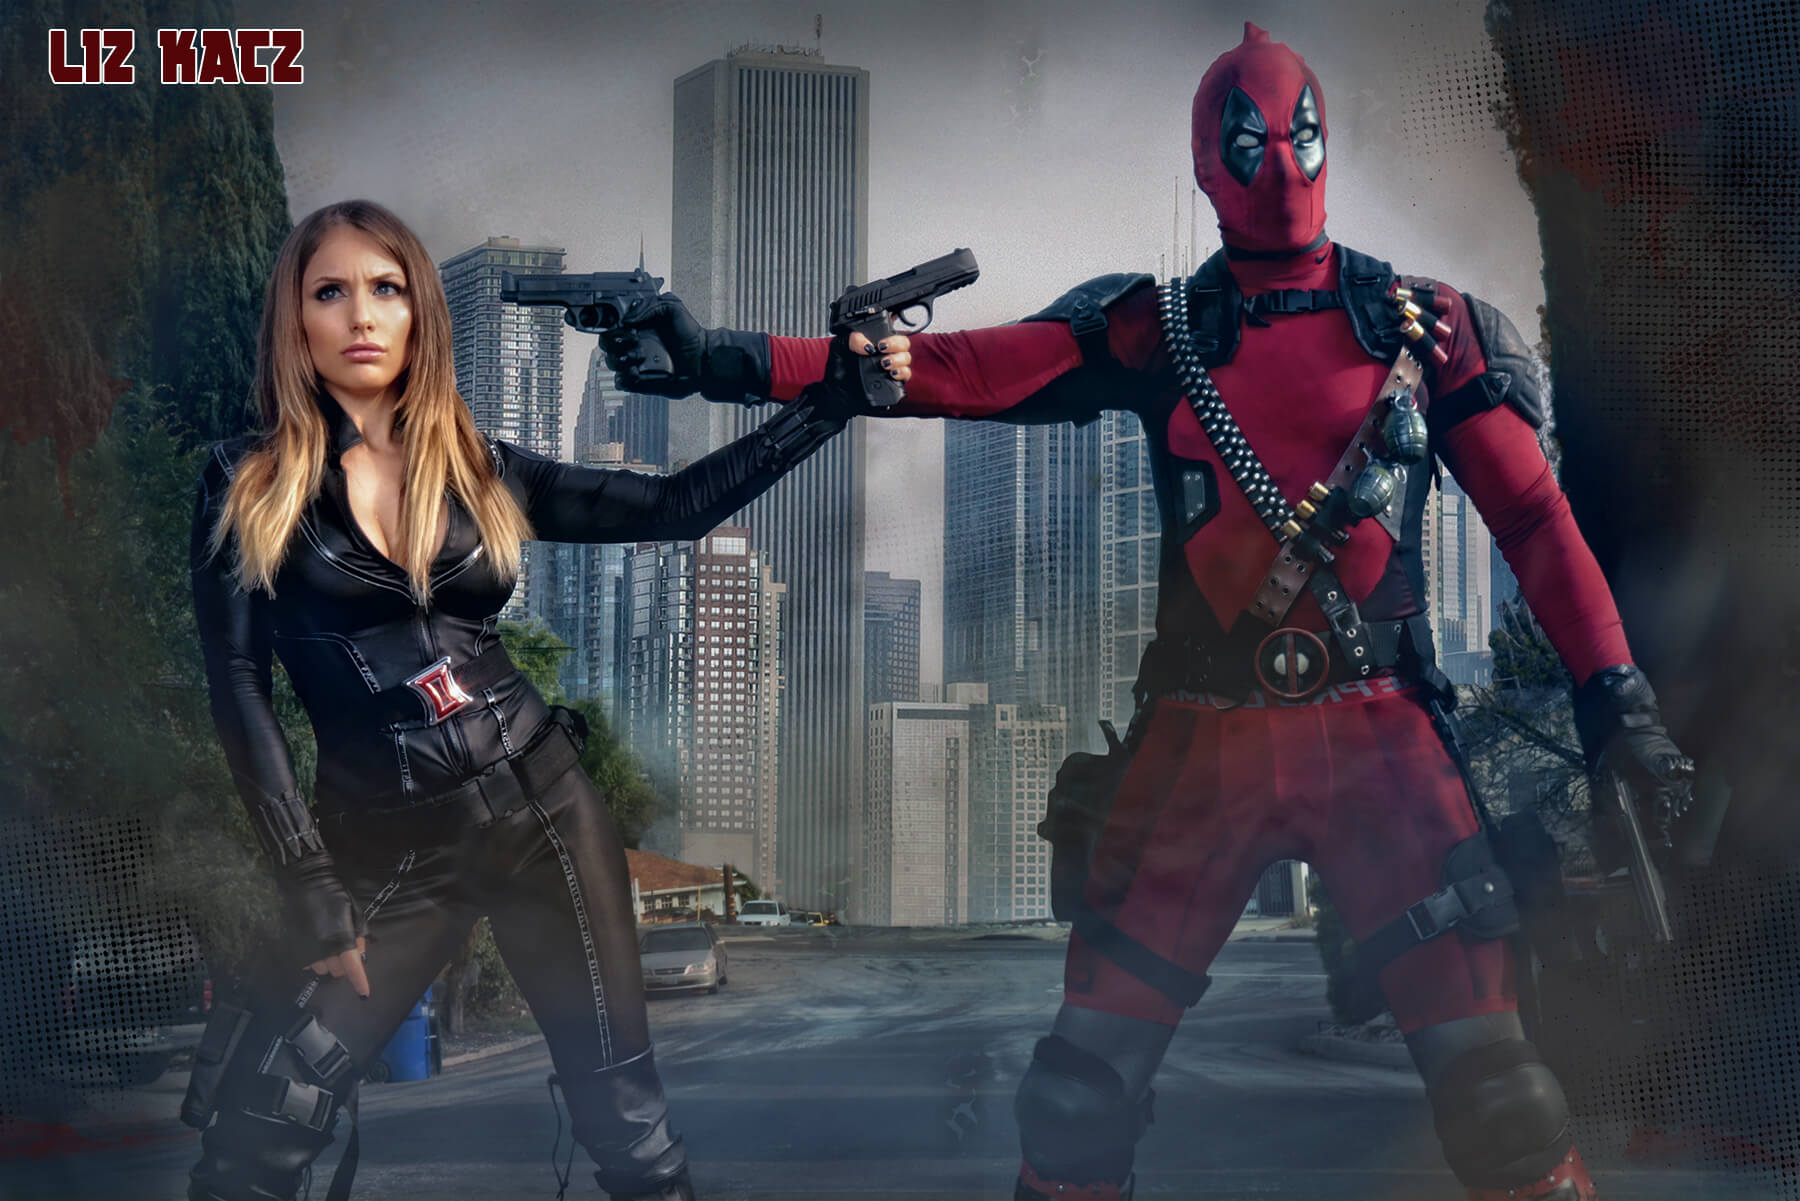
Hey guys! So I’ve been meaning for a while to post exactly what goes into editing an image. I posted one photo from my recent shoot as Black Widow with Deadpool (played by Dirk Ellis with special thanks to Bat in the Sun for coming by!) Here is my finished image.
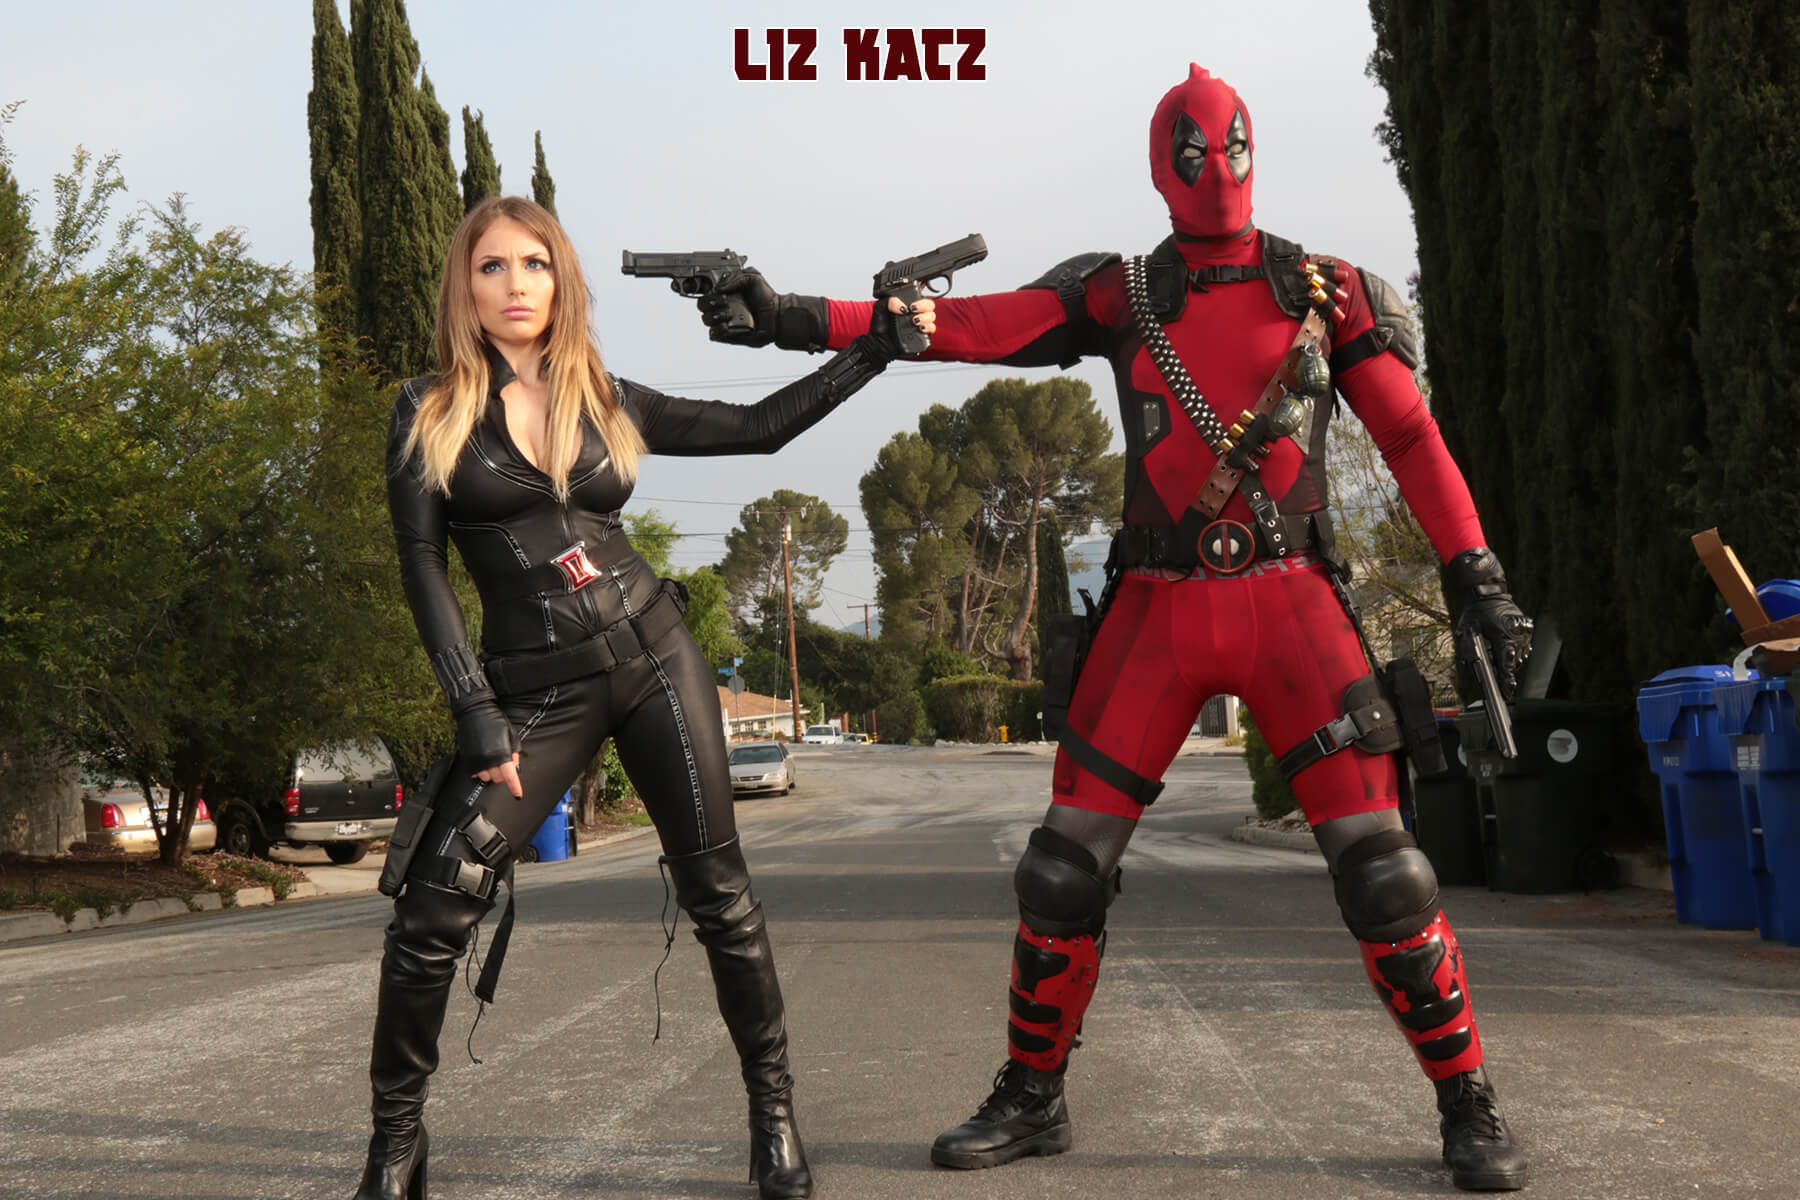
This edit was done over the course of 24 hours. It took me about 10 hours for this one image in photoshop (which for me was rushing… I work slow). Here is the original image.
I had to crop in the image to get a little closer to my subjects. You may also notice my foot was cut off in the original… So my choice was to either crop in (as I did) or extend out further to add my foot (which would put us even further away) The other option which I wish I did as well along the way would have been to extend it but then crop to make it a square image for instagram. But I didn’t…
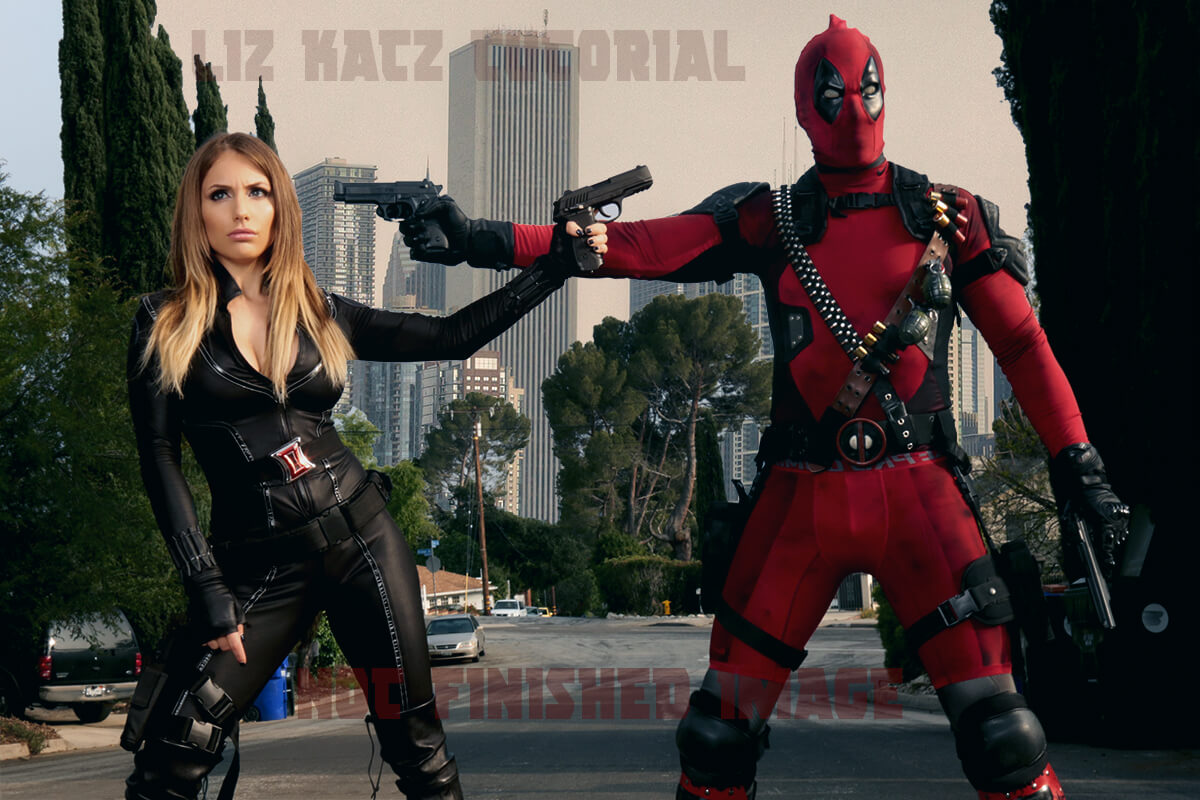
Once I cropped in I separated my subjects from my background and removed part of my background to add a city. I also put the start of a few custom look layers so I had a base to off of when it was time to start changing my photos look and did a basic retouch on my face and bust.
You see all those trees in the back? Well 1} they took away from Deadpool’s cool factor so they would have to go anyway but 2) I also didn’t feel like going in and erasing the trees to look natural so… Poof! Same goes for the street sign and telephone pole. Which I completely forgot to do anything with and just left as a random brown stump in the back. Also What to do with those HUGE shrubs behinde me? well…. might as well just keep them in and extend them out.
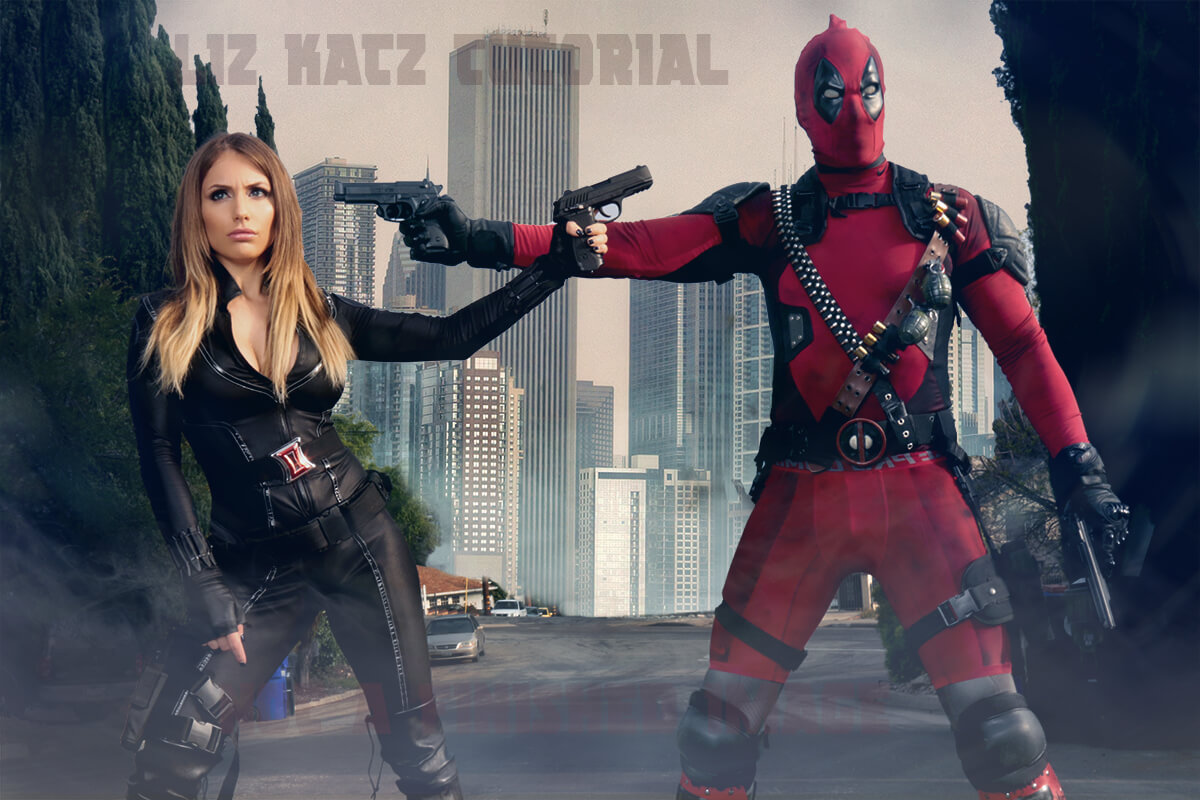
My photo really lacks depth. So a trick in photo editing to add depth, movement, and interest to photos is to add layers! Smoke, Fog, Lines and light leaks to start. I also add some shadows and cover up the trash company logo on the trash cans and fiddle with some of my hero and background’s colors a teeny bit.
Then I play even more with my colors and shadows of each layer and do some HDR processing. I am editing Deadpool and Black Widow separately as what will look great on Deadpool’s costume would not looks so good on me and my exposed skin.
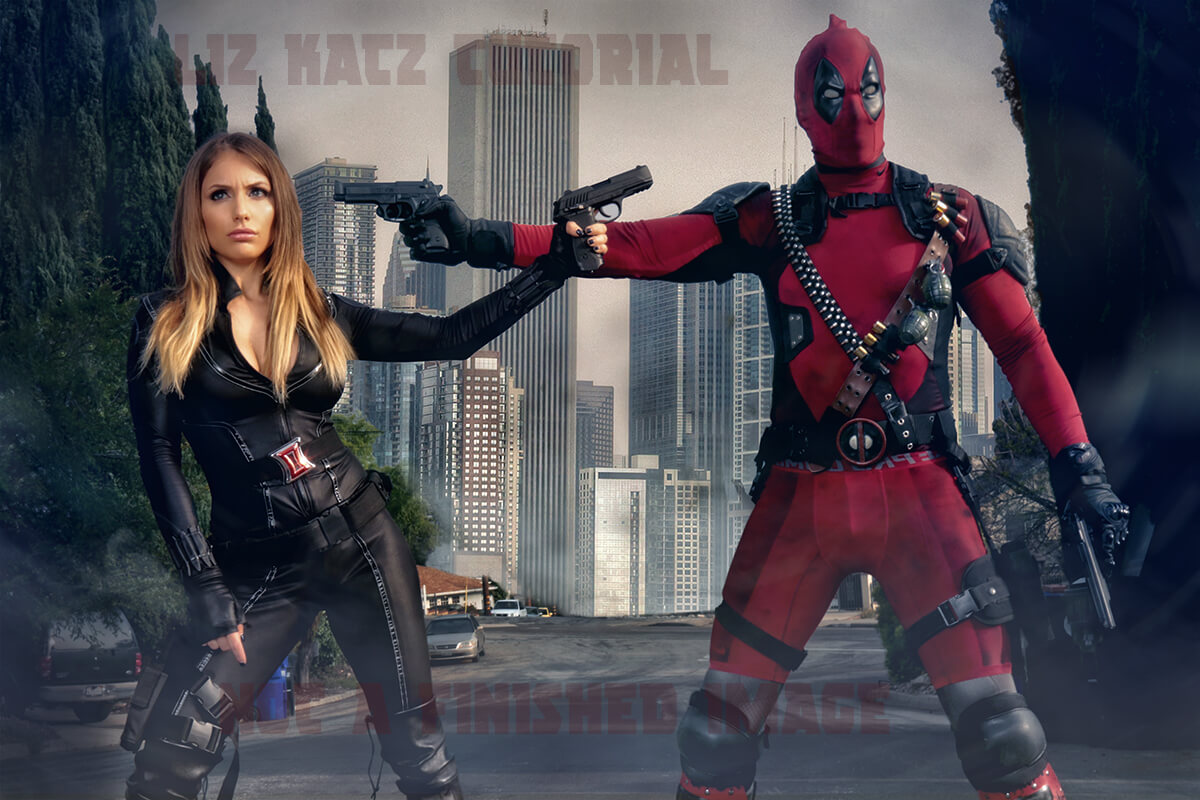
Ok! Time to clean this up the trees and background. Add some more smoke/ fog, change my lighting a bit and…. Wait wait wait… What happened to Deadpool’s right gun harness!?? I look and apparently I accidentally cut it off pretty early on in the edit. No problem! I look back at my original image select and create a new layer with the harness and match it back up with Deadpool (sorry dude!)
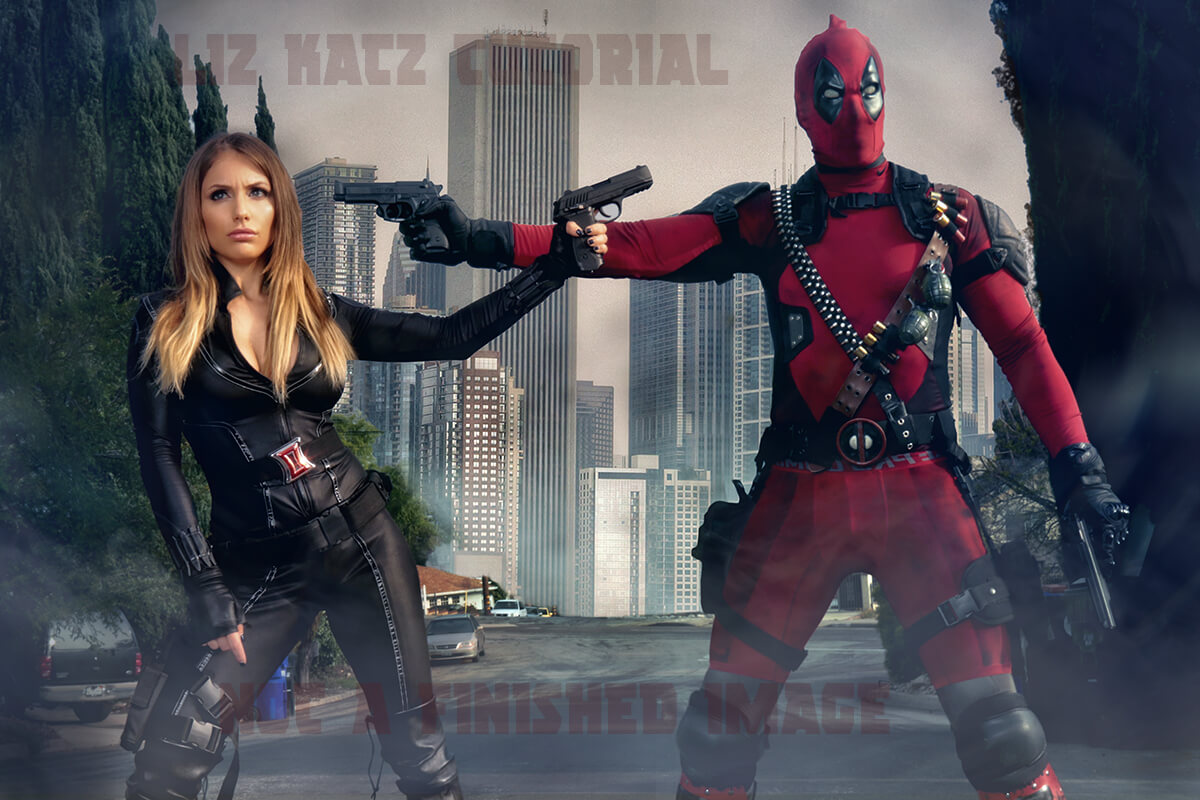
Ok! That’s much better! Everyone is in tack! So the Deadpool and many other superhero movies tend to have a blue-ish look going on to them. (man of steel blue) So I am happy with each layer as an individual (made a quick fix to my hair so it sits more natural). And I’m ready to finish my image as a whole. I copy merge (meaning copy all my visable layers and past them into one layer) From here I start shifting to blue.
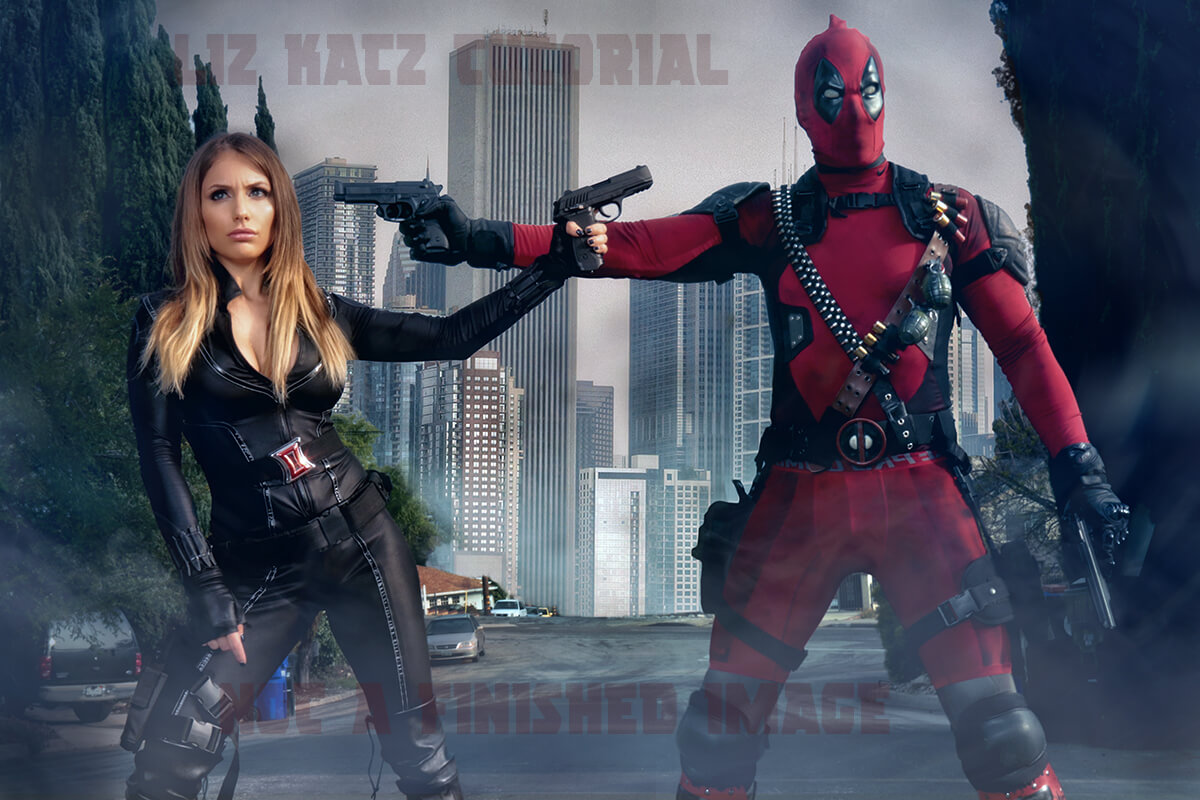
And then from here, It’s time to have fun! I teak my shadows more to really add drama. I also strengthen and add a fog layer. Then I got to splash color around a bit with some fancy paintbrushes and made two vignettes (one black, one blueish)
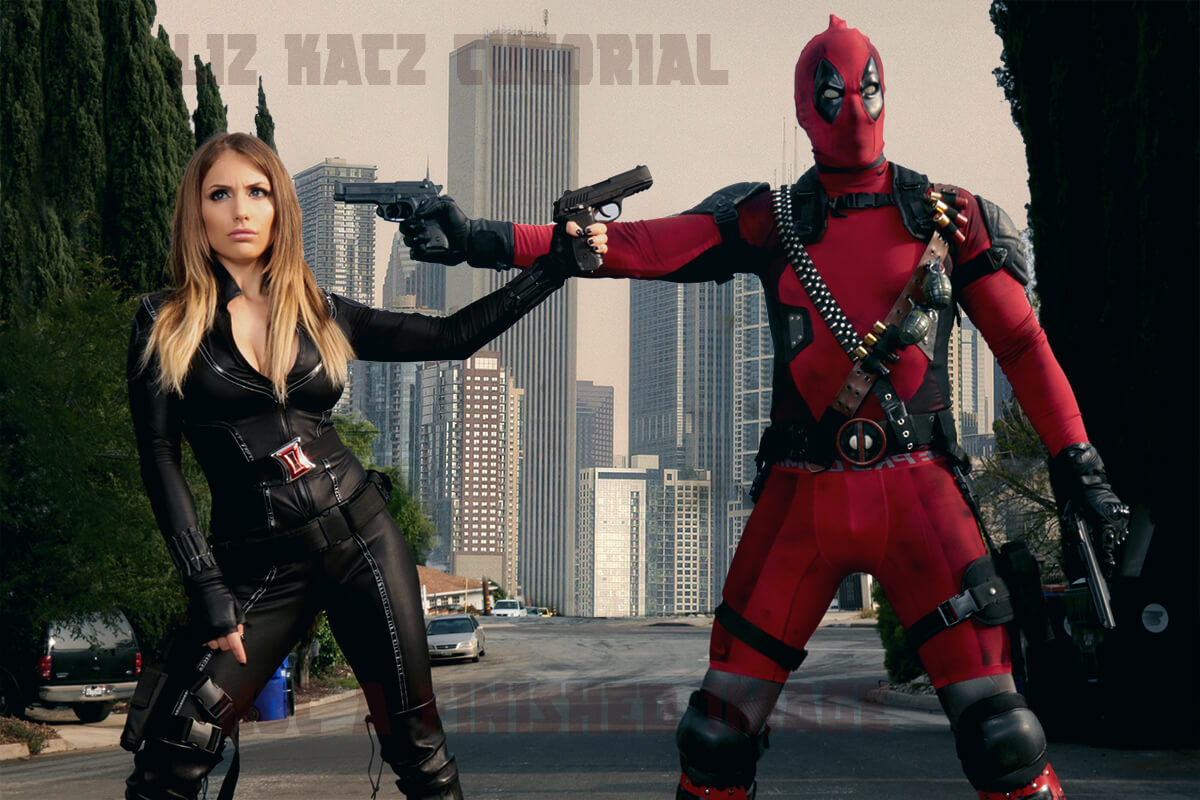
And that’s how I edit my photos! Looking at it now with fresh eyes I wish I took the little extra time to get the two bush tops behind my out as well. But I didn’t…. so there they are… BUT if I were to do it sloppily after the fact it would look like this.



Trackbacks for this post